

A lot of people view outlines as rigid, immovable objects that restrict their creative freedom or something to be afraid of. I take a much more fluid view of them. In my mind an outline is how things fit together, at the moment. They can and do change constantly whenever they need to, and that’s ok. Making changes to an existing outline has its limits though. Sometimes you need to just start a fresh outline from scratch so you can focus on picking out the good pieces from the previous version and adding in the new stuff without all the old stuff cluttering the space around it. That’s ok too. You know more now about your story now than you did when you started your previous outline. As you find out more about your story, your outline should change to reflect that new knowledge. This can be anything from adding or changing characters and events to a reordering of chapters. Each time you get closer to the final version.
In my day job I do CAD design as a mechanical engineer. When I first start designing a new device I usually have some rough ideas about where the important ends are and what goes in it, but usually those things are in process and not final either at the beginning. One of the big decisions in designing something is where to split the parts and where to try and merge parts together into a single part. A single complex plastic part is usually a lot cheaper long term than several separate smaller plastic parts, which is why most injection molded parts look very complicated on the inside. If I want these parts to come together to look sleek, I’ll build them off a single master model and split them out from there. I call this placement of all the internal and external components a layout. If a part changes or disappears or merges together with another part or we find that we want to be able to tune in a different portion of the device than we initially thought, then the layout has to change and usually some drastic changes to one or more of the models has to happen too. Depending on how drastic that change is, it can be easier to start a fresh model so you can skip all the features that are no longer needed (Solidworks/Creo and other CAD programs are procedural, so leaving broken/dangling features in them is just asking for trouble) and design them in a way that works better based on what you now know. At one startup I worked at, I was on layout # 17 before we launched because a lot of our assumptions at the beginning turned out to be wrong over the course of a year and we had to change things to make it work. I try to apply that same sense of willingness to burn it all down to my writing. If the story doesn’t work, it has to change, no matter how much effort went in to it already. That effort is what got you the knowledge you now have and you should use it.
My outlining process is definitely a process in progress so this will be a bit messy, but here we go!
One of the big changes between my first book Full Coverage and my next book The Gray Shift is that I am getting the outline edited by my awesome editor before I even start writing drafts of the book. Writing drafts of an outline is a lot faster than writing drafts of an entire book so I’m trying to get all the plot points and chapters figured out up front so that I don’t waste time writing chapters that wind up getting cut. That will probably still happen, but hopefully not as much.
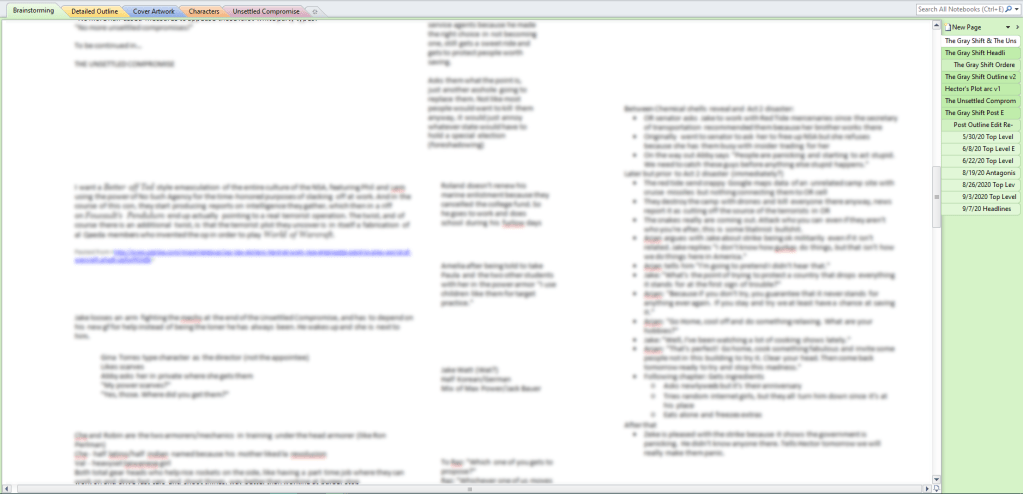
My main outlining tool of choice is OneNote. I like it for a couple reasons:
- It has no page margins, so you can type your entire thought/chapter/note out without worrying about it getting disconnected from everything else.
- You can start typing anywhere, just click and type. I find this really useful for adding notes next to things.
- You can paste in anything, web links, pictures, videos, recordings of your own voice. They can all go on the same infinite canvas.
- It has a good hierarchy structure. You can have a tab for Characters, then subpages for each individual name, then sub-subpages for notes/changes/revisions to that character, etc.
- It has a history feature (I just learned this) that will show you the past 7-20 days (depending on your account/version) of each page. It’s not quite Google docs level since it only does one snapshot per day, but it’s still cool.
- It’s free now. The new version will constantly bug you to use OneDrive with it, which is why I’m still using the 2010 version. I think you can just keep files locally in the new version too, or even locally in a Google Drive folder so you still get backups, which is what I do.
Step One: Brainstorming!
First off, I made a Brainstorming Tab and then a page within it for adding random ideas. Some of these are text boxes, some have links has references. This is basically a wall of sticky notes in digital form.
I tend to keep this page as a dumping ground for any random idea that I come up with related to the book. Most of the things that go on this page won’t actually get into the book, but it gets me thinking.
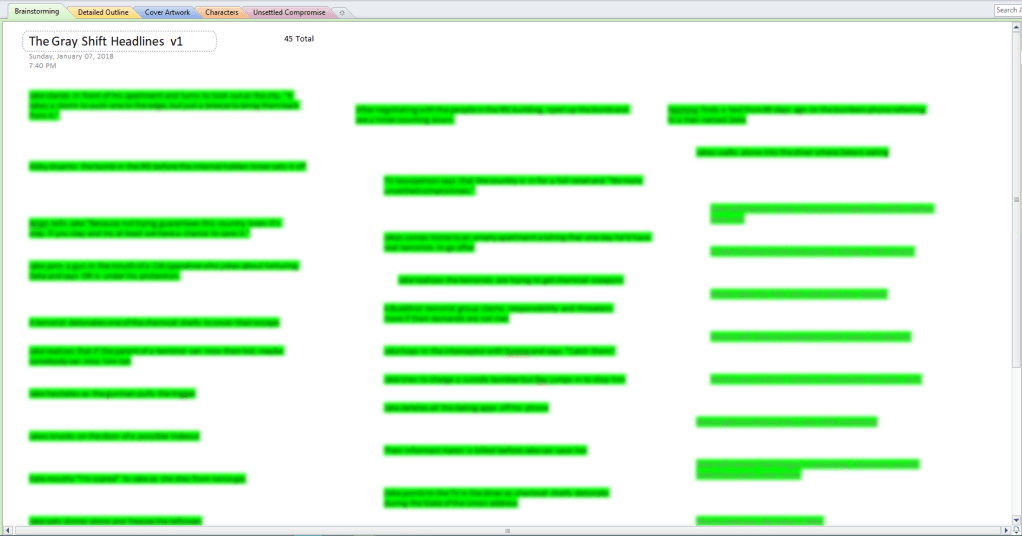
Step Two: Making Headlines!
The next step is to make end of chapter headlines. These are the last sentence or major event of each chapter and are also known at the cymbal crash moment for each chapter. I put them according to which act I think they will go into.
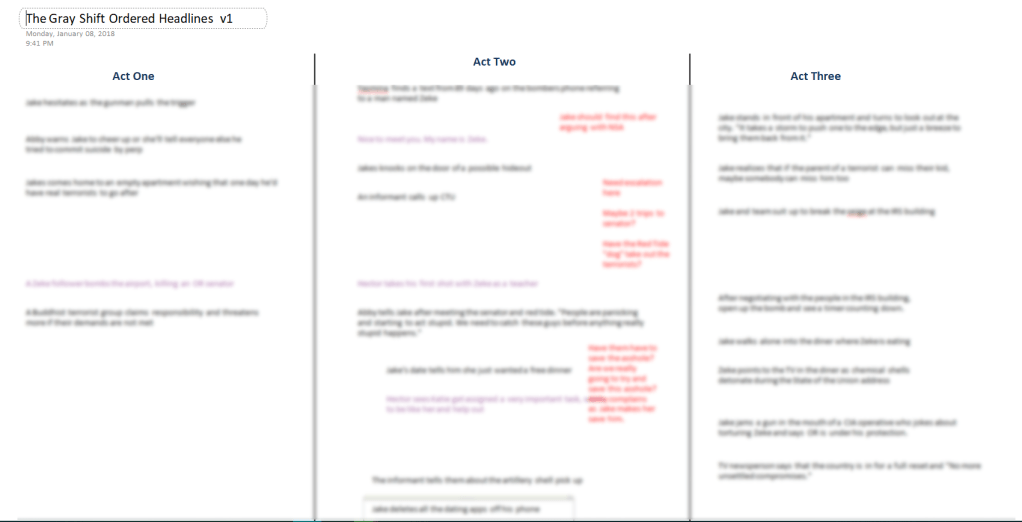
Step Three: Sorting!
The next big step is to sort all those chapter endings into order according to a three act structure. This is the order of events that will take place in the book.
Step Four: Add Details!
The next step is one of the longest, adding all the details about what happens in each chapter. This includes what part of the three act structure it is, what part of the character arc it is (I use Libbie Hawker’s definitions for that) and later I added what chapter type it is. This should be at most 1,000 words per chapter, more than that and you’re essentially writing a draft instead of outlining. The only exception is for choreographing action scenes, which can take a lot of words depending on how many people there are.

Step Five: Write the Outline!
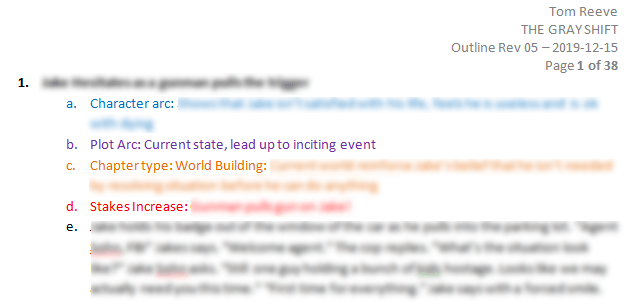
Technically, all the previous steps were “writing the outline” too, but now you write out the summary of each chapter in a Word doc so you can send it out for editing. Each chapter starts off with the following information, which I color code as shown below:
- Chapter Headline: The last sentence/major event of the chapter.
- Character Arc: This is the part of the character arc that happens in this chapter.
- Plot Arc: This is the part of the plot arc that happens in this chapter per this list.
- Chapter Type: This is the type of chapter per this list.
- Stakes Increase: This is how the stakes are increased at the end of this chapter
- The summary of what happens in the chapter. A written out version of your bullet point details from Step 4.
Step Six: Revise it at Least 3 Times!
You’ve completed a first draft of your outline congrats! Now go back and re-read it and edit it at least 3 times. Even if you think it’s perfect now you’ll find stuff as you re-read it that you want to tweak. I find it useful to edit on a different screen than I write. For me I edit on a TV and write on my desktop monitor.
Step Seven: Send it Out for Editing!
Now send that beautiful outline to someone else so they can redline all over it! That’s ok! You want constructive feedback now so you can make the plot better before you start writing the entire book.

Step Eight: Repeat Until It’s Good!
On my first attempt my editor liked 6 out of my 37 chapters and after talking with her I realized I had to do a pretty big overhaul of the outline to make the tone of the book more consistent. I started off by some more brainstorming to think of ways to fix my outline.

I then redid the top level outline from scratch and iterated on it several times to get the tone I was looking for.

You’ll notice that one of those sub-pages is listed Antagonists and the last one is labeled Headlines instead of Top Level Outline. More on those next.
Post Edit Lessons Learned and Process Changes
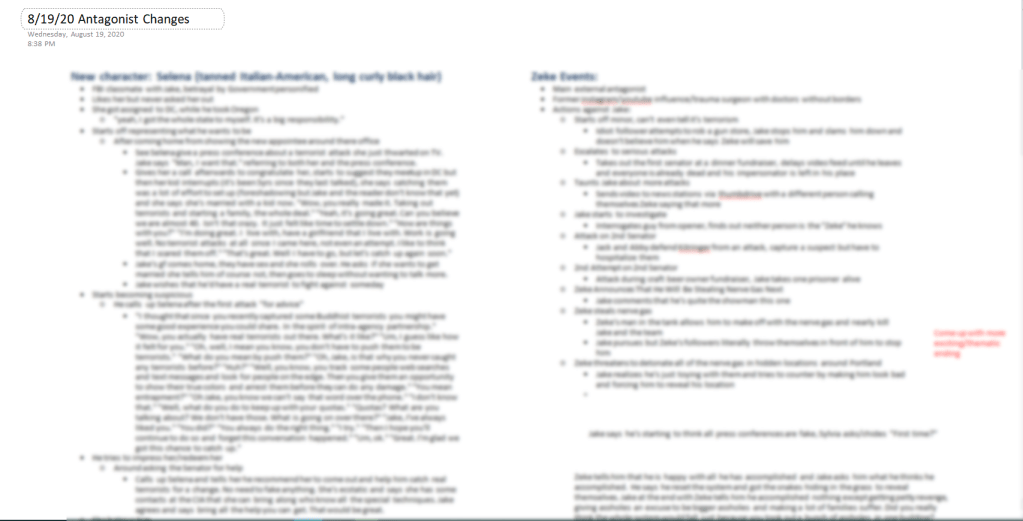
As I was on my fourth pass through the top level outline I realized that I needed another antagonist in my book. I had a bunch of events that had faceless baddies representing a larger evil, but they were all one and dones who showed up for a chapter and then vanished. This made that particular arc feel disjointed and made me waste a lot of time introducing new people each time something happened. So instead I combined all of those events into a new character. This makes things more personal for the main character and saves me from having to introduce a new foe every time. Star Wars is a good example of this. The empire is a huge galaxy spanning thing with billions of people, but it’s always represented by Vader and Palpatine since introducing a new star destroyer captain every 20 minutes would feel disjointed.
This led me to make a new page where I made a mini outline for every antagonist in the book. The Gray Shift has four antagonists throughout the story, with one main one and three secondary ones. Writing out their interactions with the main character individually really cleared things up for me and made it easier to spot gaps in each of their arcs.
I then color coded each antagonist and wrote out my top level headlines. This let me see if I was letting any one of them disappear for too long or if any chapters didn’t have an antagonist at all. I then added some chapters and reordered some others to get a new antagonist based top level outline.

Now with that information and the new top level outline I am writing a new detailed outline in word with the antagonist listed on the top of each chapter along with the rest of the information.

